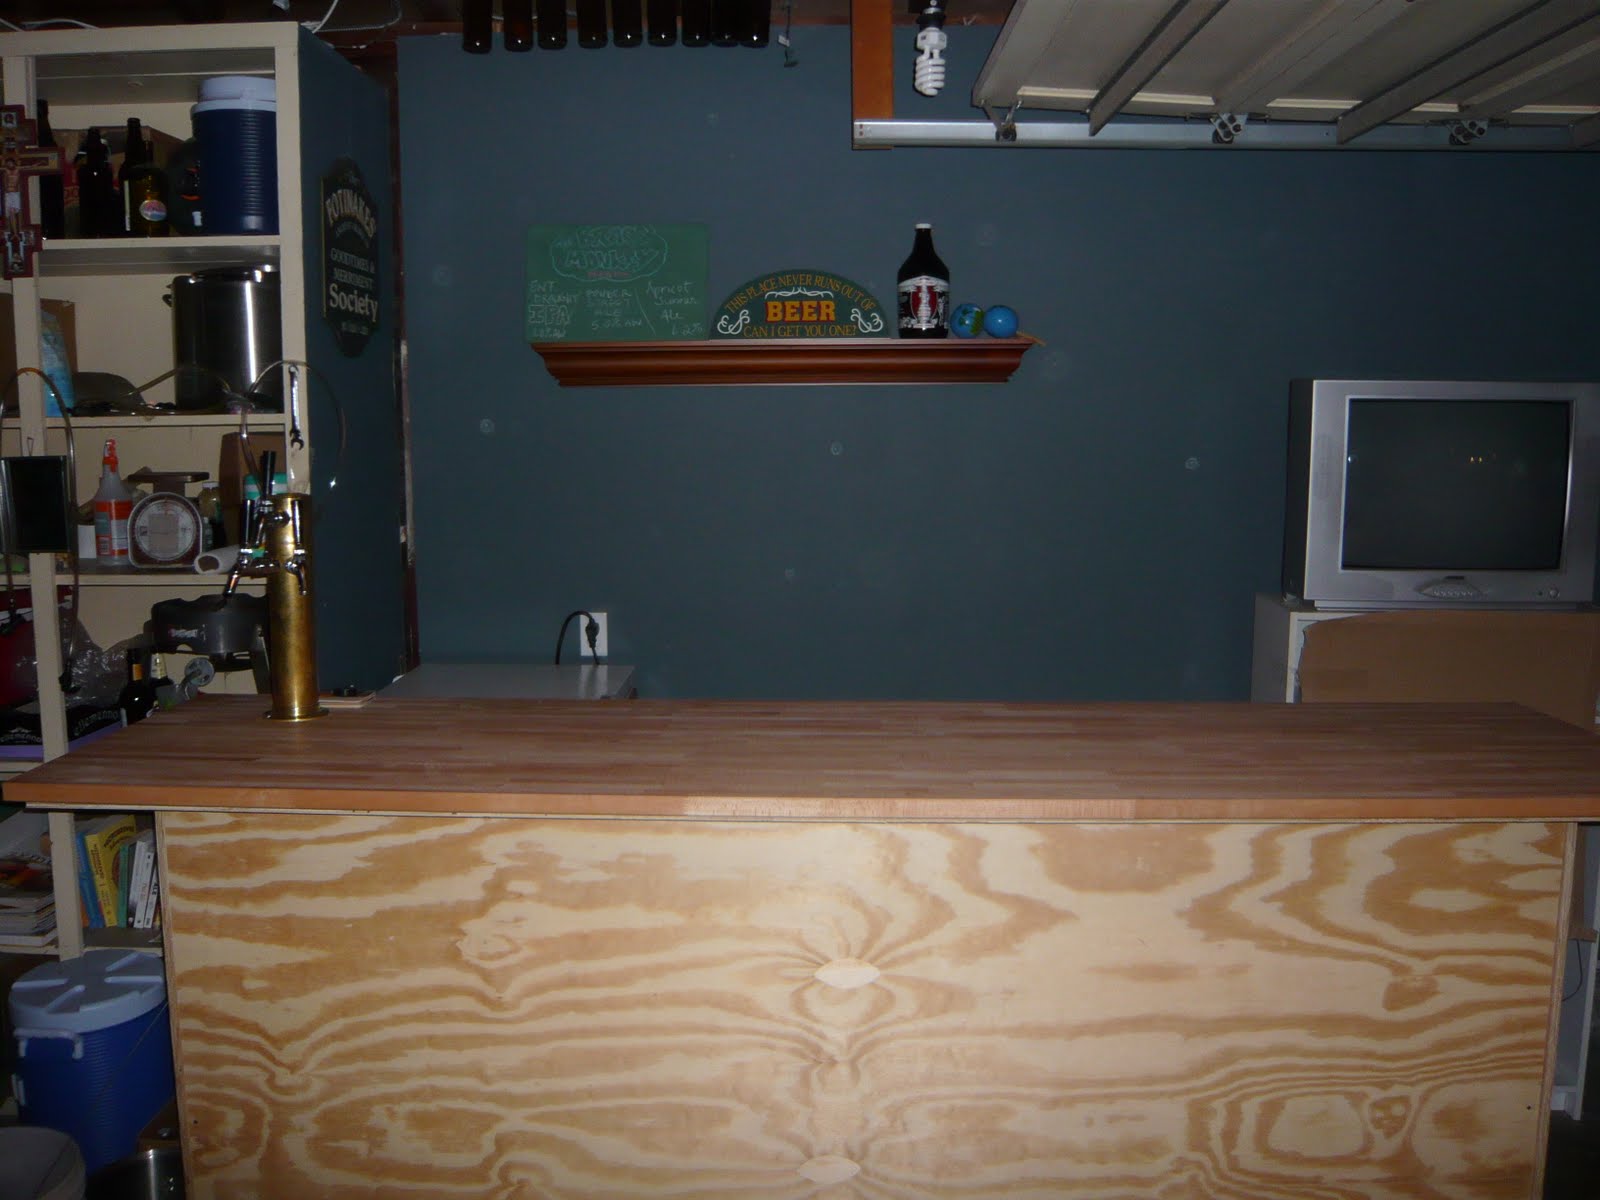
Here are some pics to show off the new space.
Showing posts with label bar. Show all posts
Wednesday, May 26, 2010
Garage Bar is Fully Functional
Tuesday, May 25, 2010
The Book Bar: These Guys are Rad

Books = Rad; Bars = Rad; Bars made out of books = SUPER RAD OVERLOAD! This is what I'm talking about when I say, "Making stuff outta stuff". Props to these guys for displaying their awesomeness with both books and booze. Follow this link to see the whole play-by-play of construction.
Thursday, May 13, 2010
Disco Drywalling
I read on the internet that it's important to do a small amount of disco dancing in front of a wall that you just drywalled horribly.
In case you're wondering, no, you don't need to use 15 pounds of drywall mud to fill the cracks and screw holes on 3 sheets of drywall. There's no reason why you should need that much, unless you make a humongous mess of it. As I did.
Luckily, once you sand like crazy and the flat paint goes on, practically all sins are forgiven. It ended up looking great. (Note: Somebody is looking chubby.)
Tuesday, May 11, 2010
Keezer Collar Finished
What I thought would be one of the harder tasks in building my home bar turned out to be pretty easy in the end. The collar that needed to be built for the keezer (that's right, "keg" + "freezer" = "keezer" for the mathematically inclined) has come together nicely, once again aided by my dad's woodworking skills.
As you can see, the reason for the collar is so that one doesn't need to drill a hole in the side of his freezer. That may or may not even be possible, given the fact that the sides are normally full of the coolant tubing, but either way it's much better to just build a little collar.
Due to the fact that it'll be cold inside, and there's some condensation, I chose a beautiful redwood for this project. Redwood apparently doesn't shrink or expand as much as other woods when it gets wet, plus it looks rad.
Here you can see the whole inside setup. The hole on the left is for the beer lines to go out and up into the draft tower. The CO2 tank is hooked up to the distributor on the right, which then distributes pressure to the kegs.
To finish off the collar, I need two more things: a thick coat of polyurethane and some weather stripping to attach the collar to the keezer. In the photo of the distributor above, you can see the weather stripping caulk I used to stop the gap and affix the collar. A lot of people who make one of these collars are using liquid nails or some other super sticky substance. I'm lucky to have been given some better advice. This weather stripping stuff is slightly sticky and super pliable, even in extreme cold. That means that it makes a nice, air-tight seal, but can also be removed if need be. Here's what I'm talking about:

This is the polyurethane I used. I slapped like 5 coats on that thing in one day. Super. Easy.

Tuesday, May 4, 2010
Bar Counter is Done!
So, after much thinking and little action, my dad finally got the garage bar project rolling. He asked me point blank if I wanted to go pick up some wood and build the bar counter, so I couldn't say no. With just an idea of the design in my mind, we headed to the lumber yard and looked at some wood. Pencilling the design on the side of a 2x4, we were able to estimate how many pieces of 4x8 plywood and 2x4's we'd need to put it together. Miraculously, and quite apart from our normal M.O., we actually bought the right lumber and cut and assembled the counter without errors! Yet another confirmation that God wants my bar to happen!
Though we do produce some rather comical mistakes at times, my dad and I are good partners in DIY-together we've painted an entire house, demo'd interior walls, fixed numerous minor plumbing problems, and survived one very badly planned tree-trimming episode.
I'll post the design instructions for the counter soon, but for now, check out our handywork below!
Tuesday, April 27, 2010
The Brass Monkey
The Brass Monkey Brewpub is my own home bar, being built in my garage and serving my homebrewed ale and homemade cider. Having homebrewed for over four years, I started the project of building a little bar when my wife gave me a personalized bar sign and suggested I make a little bar space.
I've always had an interest in repurposing/recycling materials and items, as well as improvised building, so this was the perfect opportunity! The blog will record some of the projects that go into making the bar functional and fun.
Also, if the idea of homebrewing is new to you, I'll be posting some simple how-to's and links to great informational sites. I'll also be posting my latest recipes and showing how easy and inexpensive homebrewing can be.
Welcome! Thanks for looking!
Subscribe to:
Posts (Atom)